Getting started building Augmented Reality apps in Xamarin


One of the great benefits of working for Dootrix, is the ability to get time to work on new technology. A few months ago I was given the exciting task to build a capability demonstrator to show to new and current clients using Augmented Reality on iOS.
Just looking for code?
The source code for this article is here 🍷
What is Augmented Reality?
Augmented reality (AR) is a direct or indirect live view of a physical, real-world environment whose elements are “augmented” by computer-generated perceptual information
A well-known example of an Augmented Reality application would be Pokemon Go. This mobile application brought Augmented Reality to the attention of thousands of young people. The premise of this application being that you could journey to different places and literally catch Pokemon on your mobile device.

The Pokemon would look as though it was standing right in front of you on the ground. Then you would swipe up to throw Pokeballs at it.
How do you build Augmented Reality applications in iOS?
The technology behind building Augmented Reality applications for iOS is called ARKit.
ARKit extends the functionality of your devices camera and allows you to detect planes and add 3D objects into a virtual world.
Most of the examples online show you how to do this using Objective-C or Swift, but one of the requirements for this demonstrator was to do it using Xamarin and .NET.
How do you get started?
You’ll need a few things to get started:
- A machine running macOS, e.g. MacBook
- Visual Studio for Mac
- An Apple device (unfortunately you can’t test using the simulator 😅)
Issues you may come across
Failure to deploy to your device
When building your project for the first time in Visual Studio for Mac, it may fail to deploy to the device. To get around this you need to:
- Create a blank application in XCode
- Let it automatically generate a publishing profile for you
- Deploy it to your device
After that you should be able to deploy your application from VS for Mac 😅
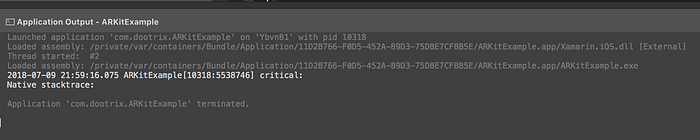
Your application crashes when starting an AR session
This will catch a lot of you out. I have known a few developers who have spent a while working out why their application crashes without a meaningful message when they want to see if everything is working.
This solution will save you a LOT of time and frustration. And once you know it, it will be engraved into your brain 😉
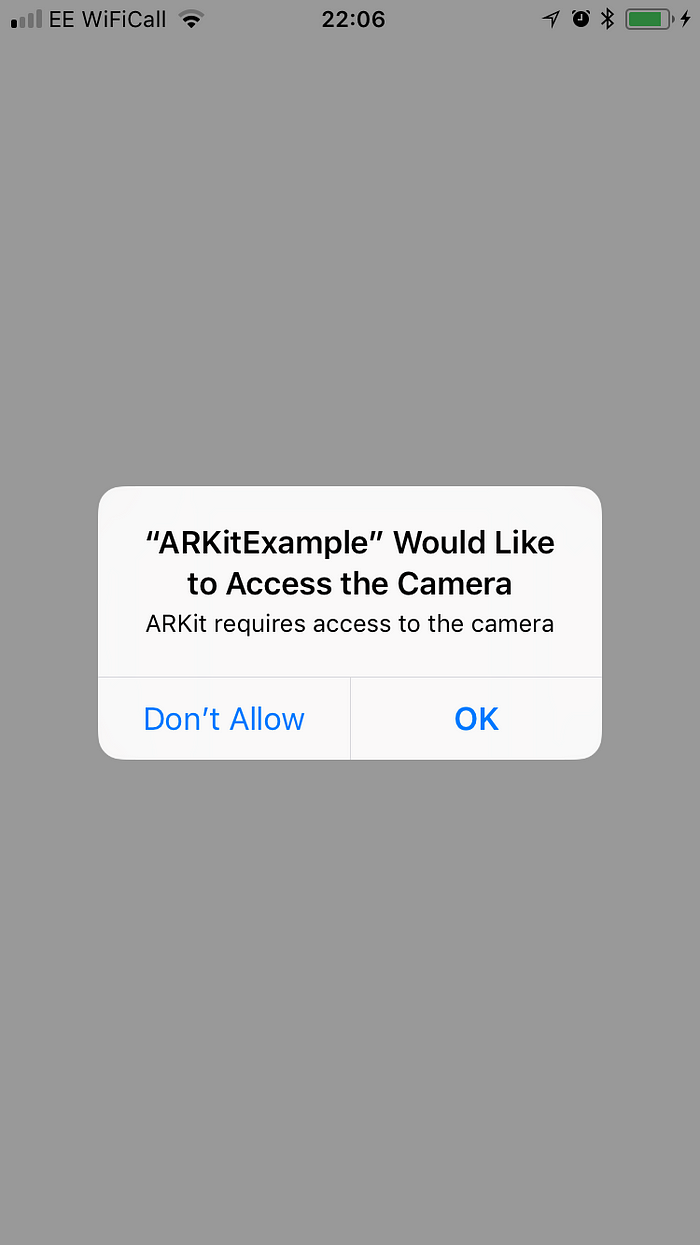
The issue is that you need to allow permissions to access the camera on the device. So you’ll need to modify the Info.plist file and enable the “Privacy – Camera Usage Description” permission. Set this up with a value that will be shown when the application requests access to the devices camera.
After you have set this up your application should not crash anymore.
You’re welcome 😎🎉
Creating the project
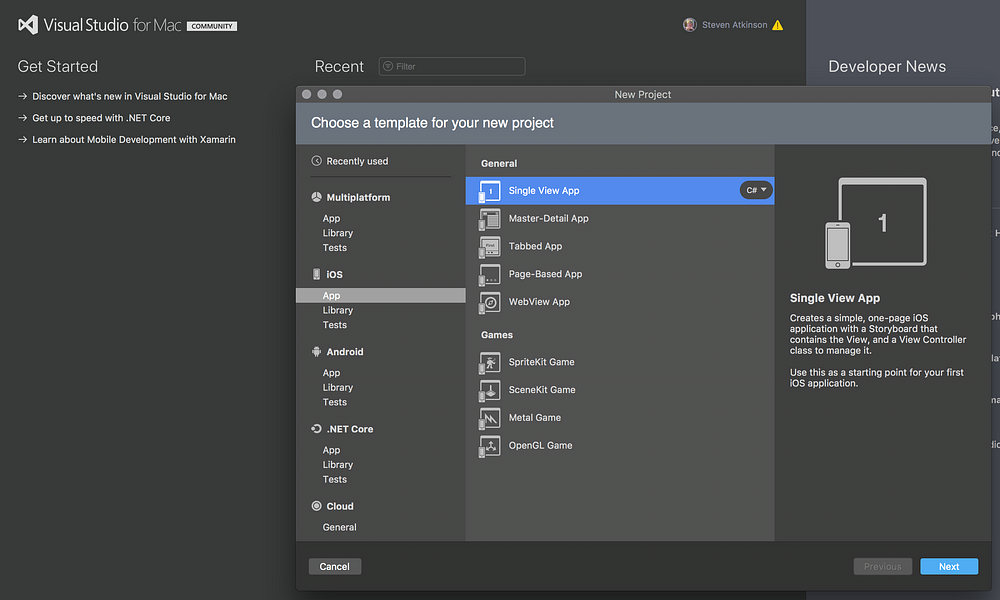
As I said before, you’ll need Visual Studio for Mac. Open it up and we’ll select iOS > Single View App. We are only creating a simple project, so this will suffice 👍
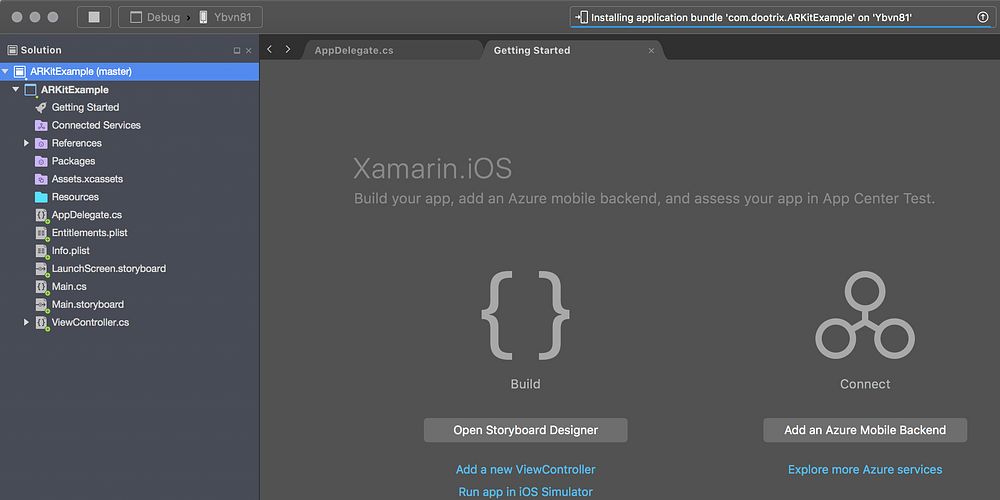
This will create a project with a single view (as the name suggests). When you build and deploy it, then you should get a white screen.

It all starts with the ARSCNView class
The ARSCNView class provides the easiest way to create augmented reality experiences that blend virtual 3D content with a device camera view of the real world.The ARSCNView class is what you will need if you want to put any virtual object in the 3D world. It does a lot of stuff under the hood. It will automatically start your camera so that it can be used to detect feature points, and with those start detecting planes. You can then use those detected planes as a floor for your virtual objects.
Here is all the code you’ll need to start working with the AR view:
If you try and run it now you will run into the issue that I mentioned earlier. You won’t get any useful output though… 😣
You will need to add a permission in Info.plist.

Then you will get a message asking you for access to the camera when you redeploy the application.
At the moment the camera is the only thing that is displayed. But we can check that the ARKit scene view is displaying by enabling a setting that allows us to see the feature points that have been detected. We will have to set the DebugOptions for the ARSCNView when we initialise it.
Then we will start seeing feature points when we redeploy the application 😎

Detecting planes
In order to start detecting planes we will have to create a delegate that we can hook up our ARSCNView.
The ARSCNViewDelegate has some methods we can override. We’ll add some boilerplate in these overrides so we can use them later to resize our drawn planes.
Now that we have this set up we can start adding in some virtual objects. The first thing that we can add is a virtual representation of our detected planes.
Displaying detected planes
To display our planes we can hook into the overrides we created. We will also have to keep track of them so we can update their dimensions if one of the ARPlaneAnchor nodes gets updated. We will leave updating the dimensions out for now though, because the planes move around quite a lot 😅
First we can create a PlaneNode class. You can just add the node in the delegate, but once you start doing that it will start making your code look a bit messy. Especially because you can do quite a bit with the SCNNode class.
To make things simpler, we use the ARPlaneAnchor to set the dimensions of the plane. It will update the Width and Length of the nodes Geometry using the ARPlaneAnchor extent.
There is an SCNPlane class, but from what I can remember, it doesn’t work well when you want make the node support collisions.
Now we can add the code to add the planes into our ARSCNView.
I have commented out the call to Update, because the nodes move around quite a lot 👀
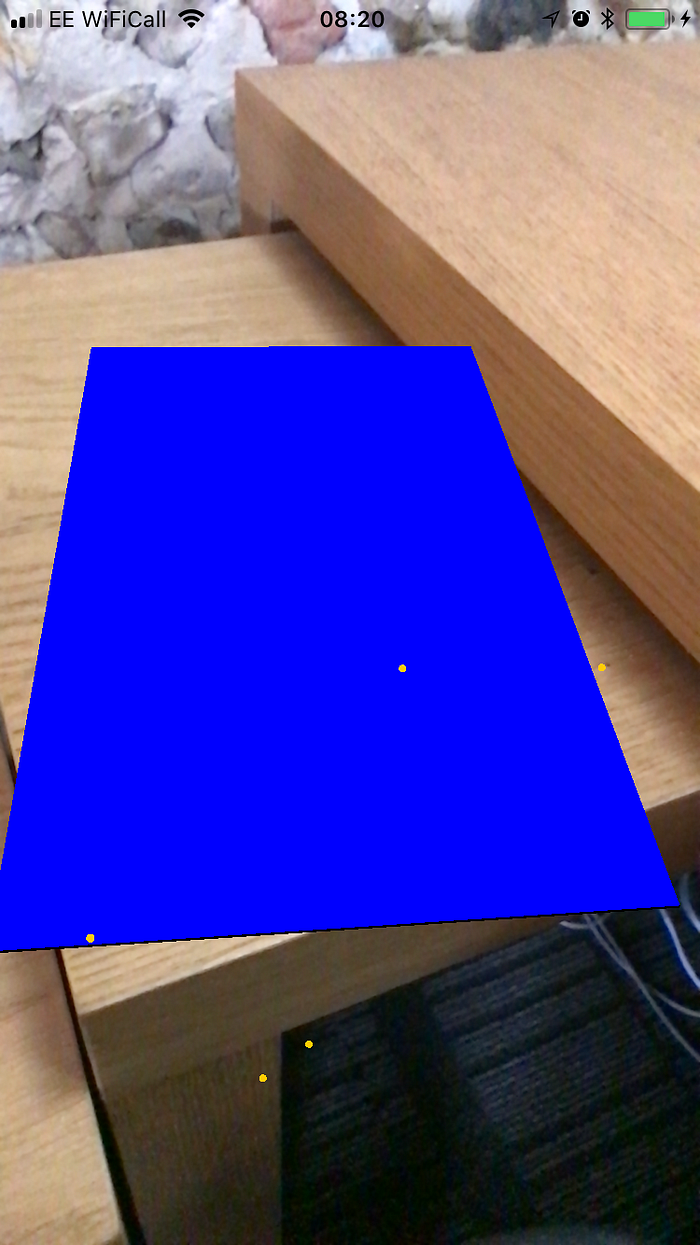
This is what you should see when you detect a plane.
How to place an object
For this particular example we will place a node by tapping the screen. For this we will need to override the TouchesEnded event in the UIViewController.
This is all the code you will need to start adding nodes where you want (as long as there is a plane there 😉)
Creating a simple cube
So now we have a visible plane, we can try and add a cube on top of it. We can do the exact same thing we did with the PlaneNode and create a new class that inherits from the SCNNode class.
As you can see, it looks very familiar. We take in a size parameter so that we can create cubes of various sizes. And we also have a color parameter so we can have a different colour for each cube.
We already have the code in place to work out where to put the CubeNode where we tap. Now we can add the code that creates the node and adds it to the view.
Take note of the AutoenablesDefaultLighting property that we have added to the ARSCNView object. This will create an omni directional light so that we don’t just get a solid white cube.
When we create the cube, we need to set the position of it with the information from the position of the hit result. Then we can add the node to the scene views root node.

Applying gravity to a node
Adding gravity to nodes is surprisingly simple. All we need to do is add an SCNPhysicsBody to our SCNNode. There is a static helper that allows us to do this in a quick and easy manner.
As you can see above, we have added a dynamic body. This will apply gravity and collisions to the node.
There is just one problem… 👀

Allowing nodes to interact
So if we want the cube to land on the plane we need to give the plane a physics body too.
We don’t want the plane to be affected by gravity, so we can’t use the dynamic body. We can instead use the kinematic body. This does not react to force or gravity, but still allows other nodes to collide with it.

Now you know, and knowing is half the battle
Hopefully this has given you enough of a start for you to go on and build your own augmented reality applications.
I have learnt a lot from tutorials online, but the majority of those were done using Swift and Objective-C. So I hope that this helps if you want to make AR applications using .NET 🤓
Coming soon
I’ll be working on another article where I will go about creating a portal using ARKit.