Make It Dark - My First Look into Svelte


As I continue to navigate the dynamic world of web development with React, which remains a staple in my day-to-day work, my journey has been one of continuous learning and adaptation. Over the past 7+ years, React has not just been a tool—it's been a crucial part of my professional growth, shaping how I approach front-end development. Its strengths have always been evident, aiding in creating complex, dynamic user interfaces with relative ease.
However, working with React, especially in extensive and intricate projects, has also presented its fair share of challenges. One notable complexity lies in the realm of the re-rendering process. In scenarios with deeply nested components, understanding and managing this process becomes a critical yet sometimes daunting task 😫. It's intriguing how a single state update can lead to a cascade of re-renders, occasionally leading to performance concerns and making predictability a crucial aspect of managing larger codebases.
Amidst these professional explorations, a nostalgic recollection of a childhood game, Lights Out, surfaced. This simple yet engaging game, involving a grid of buttons to turn off lights, struck a chord in me. It inspired the idea of recreating a web-based version, whimsically named Make It Dark, to creatively sidestep any trademark issues 😬.
While continuing my journey with React, I saw this as an opportunity to explore new territories. Svelte had been making waves in the developer community, known for its innovative approach and efficiency, especially highlighted in an event I attended focusing on its use in creating lightweight, embeddable widgets. This project, Make It Dark, was the perfect chance to dive into Svelte. It wasn't about moving away from React, but rather about enriching my skill set and embracing the diversity of modern web frameworks.
First Step - Learn Svelte! 😆
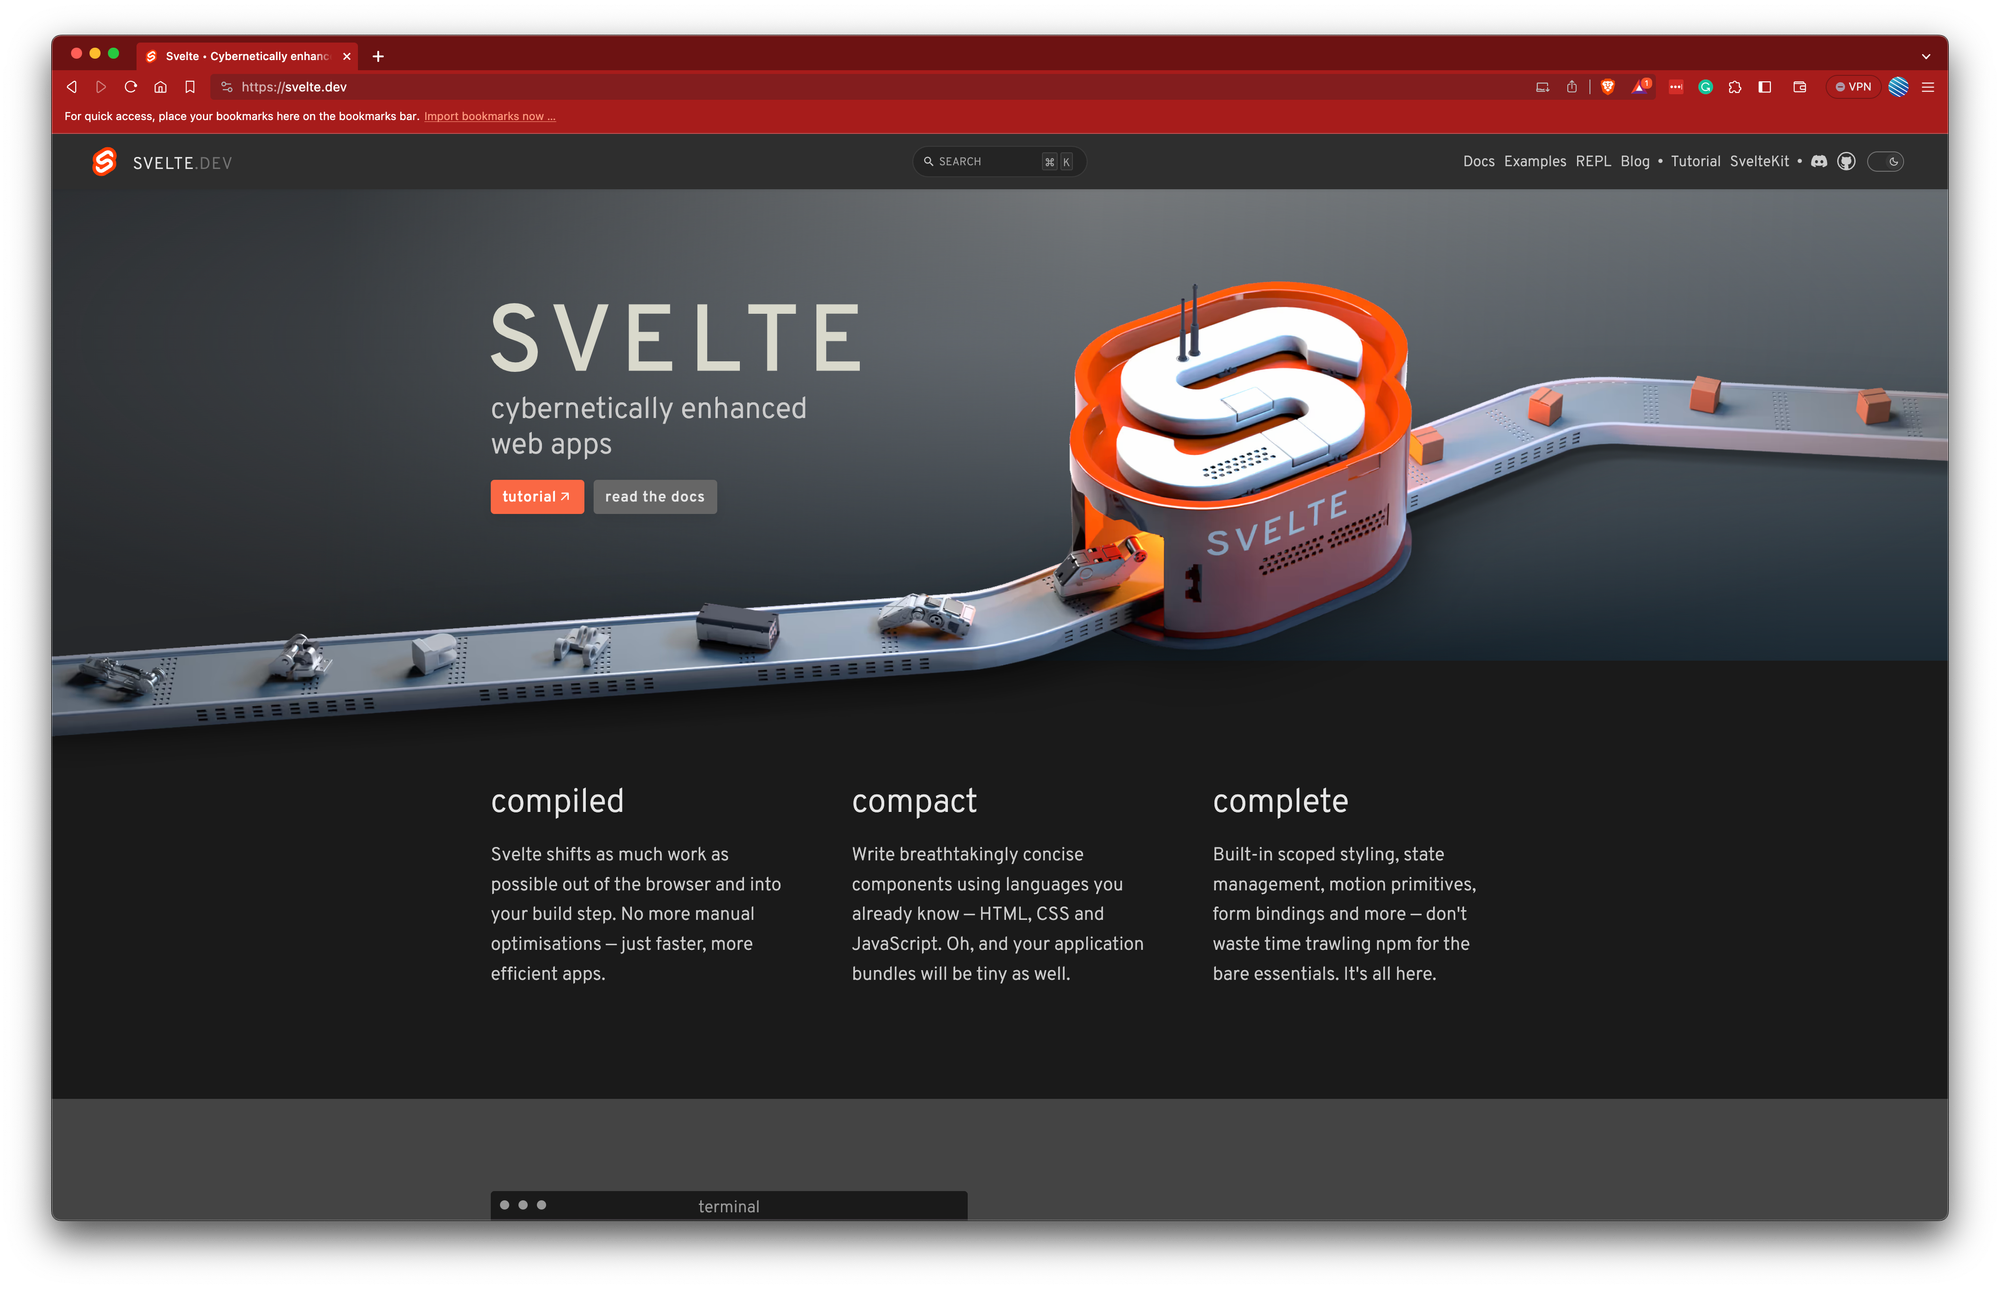
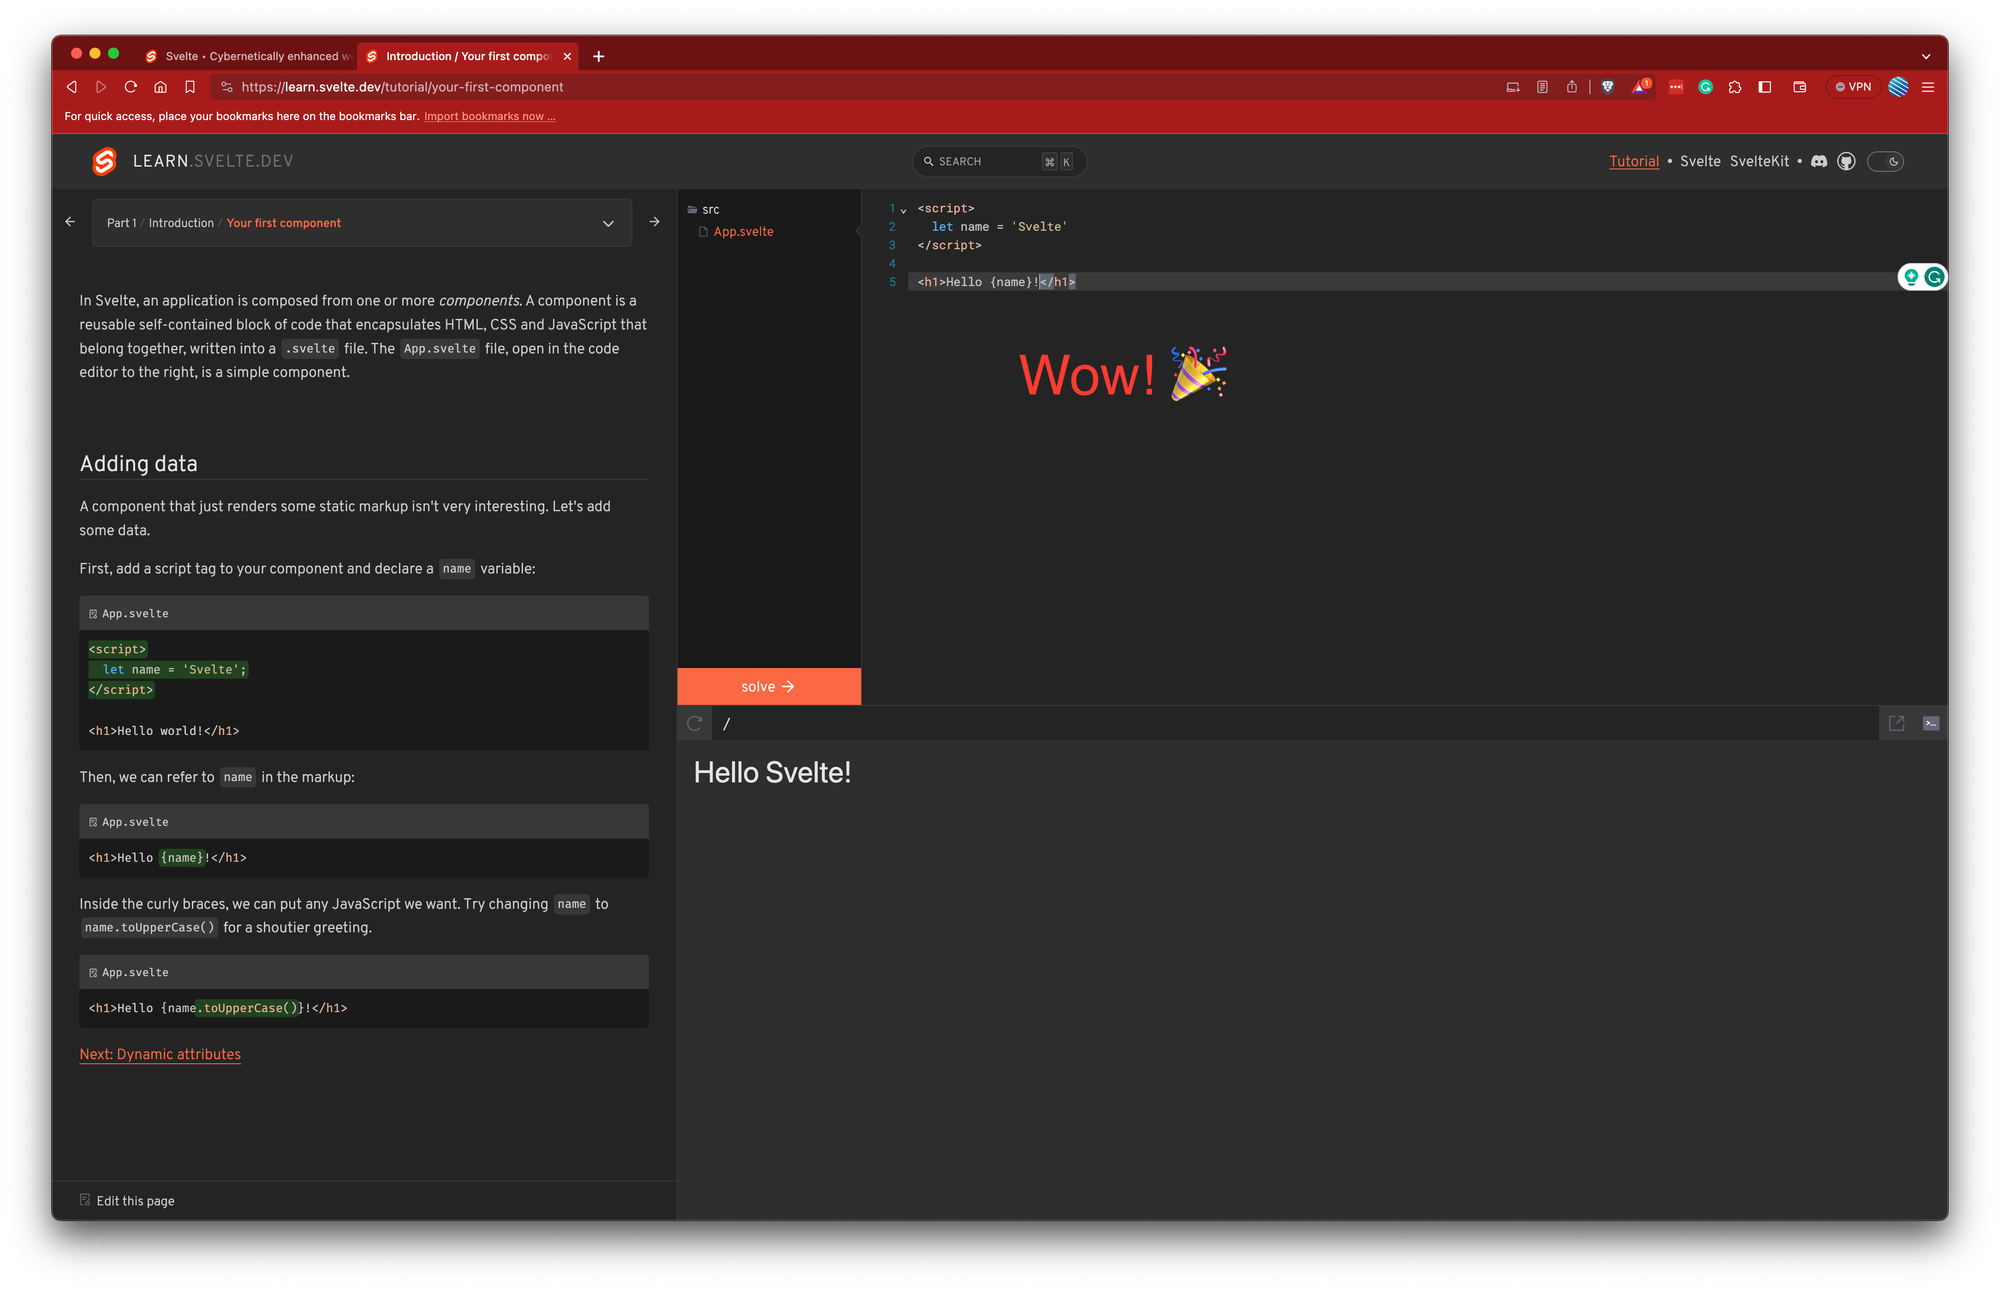
The decision to delve into Svelte began an exciting new chapter. My first step was to visit the Svelte website, a gateway to understanding this new framework. What immediately stood out was the interactive tutorial—a clever and engaging way to introduce the core concepts. This hands-on approach felt both refreshing and effective, allowing me to immerse myself in Svelte's world in a practical, interactive manner.
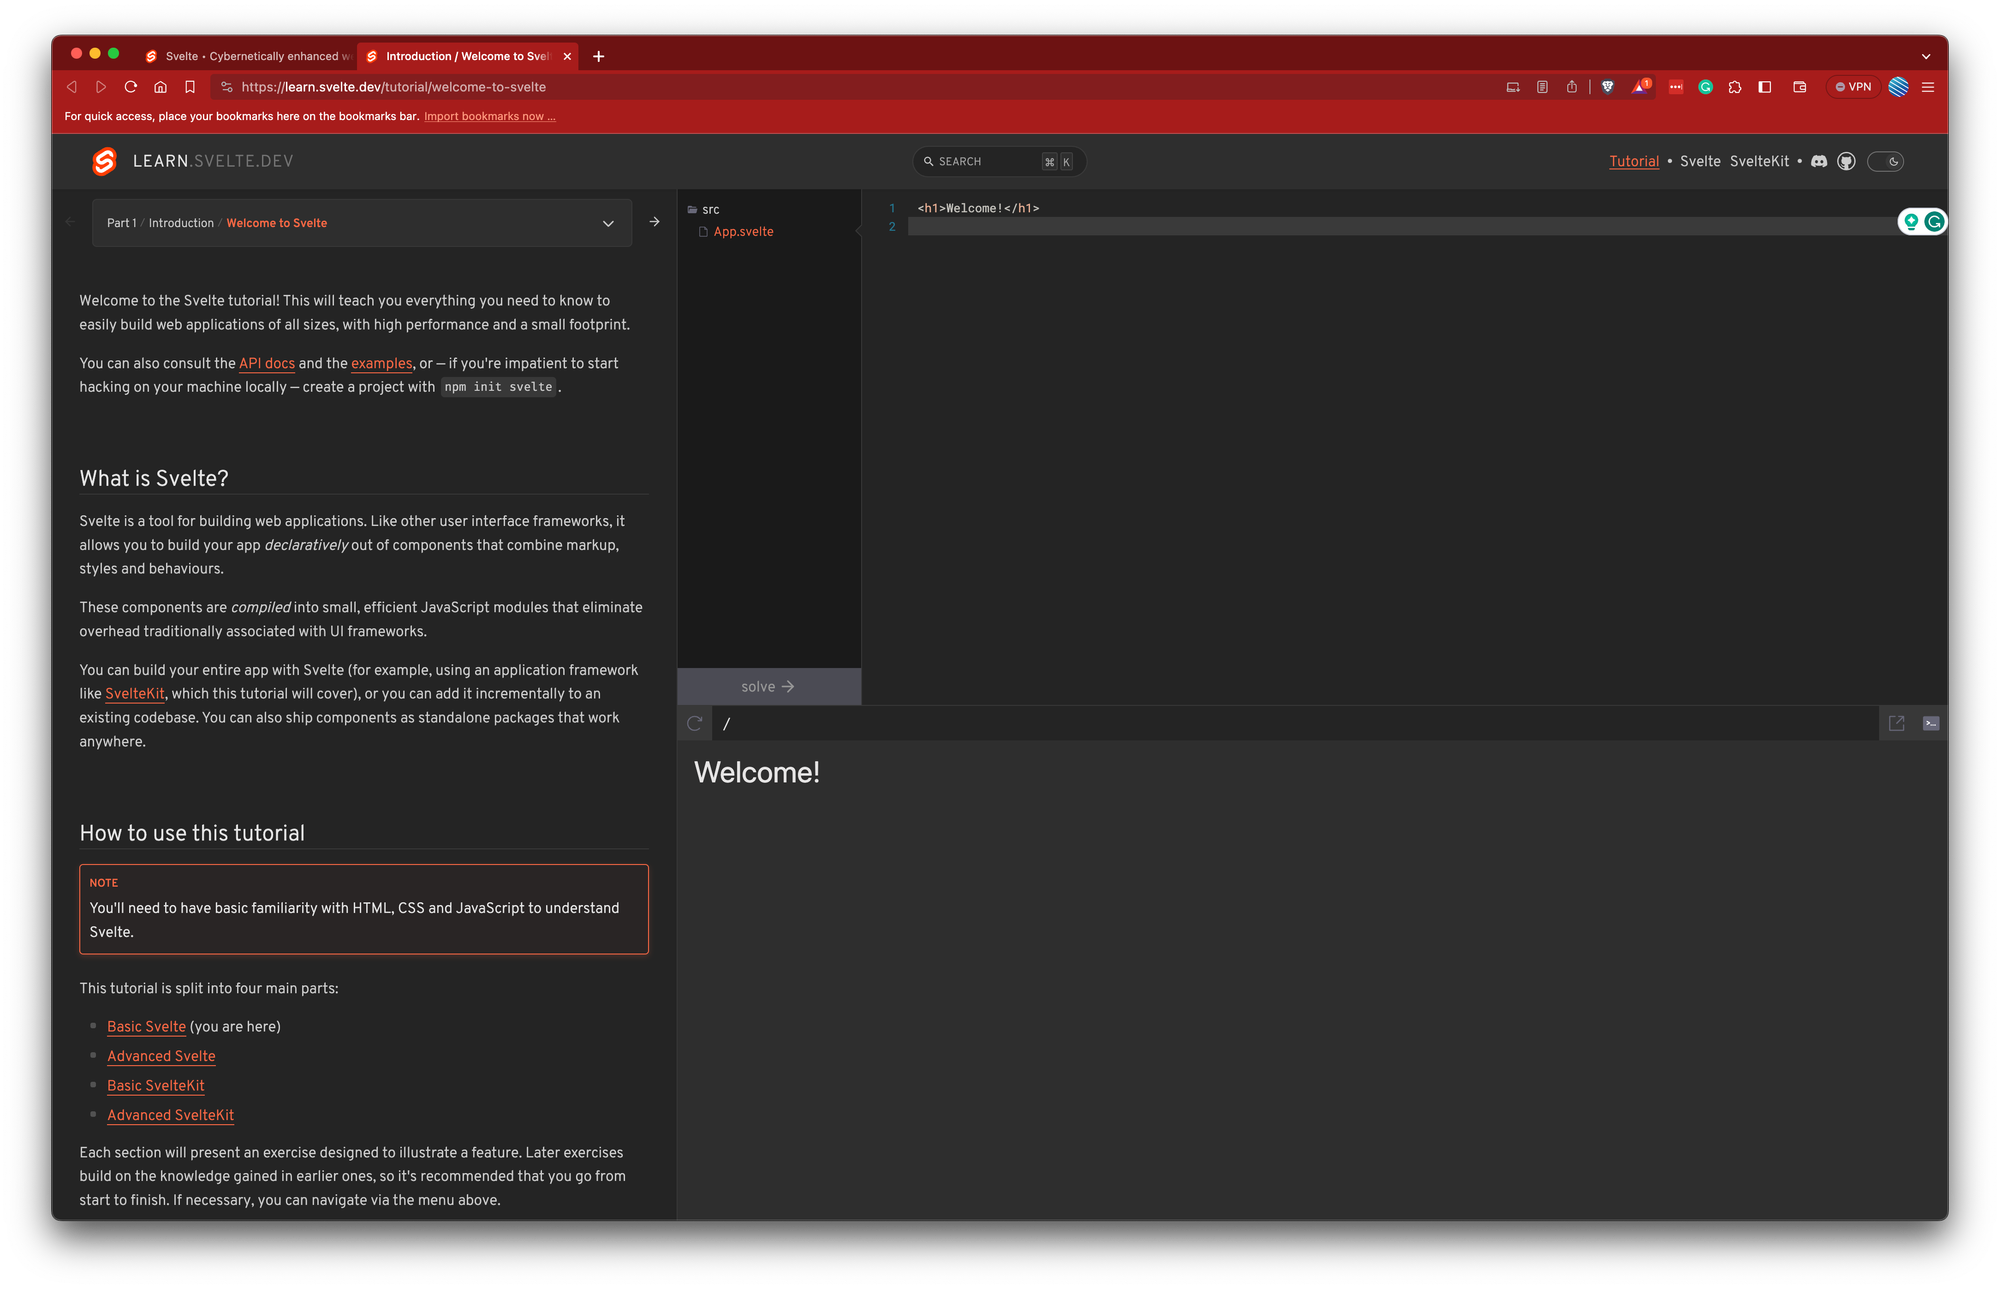
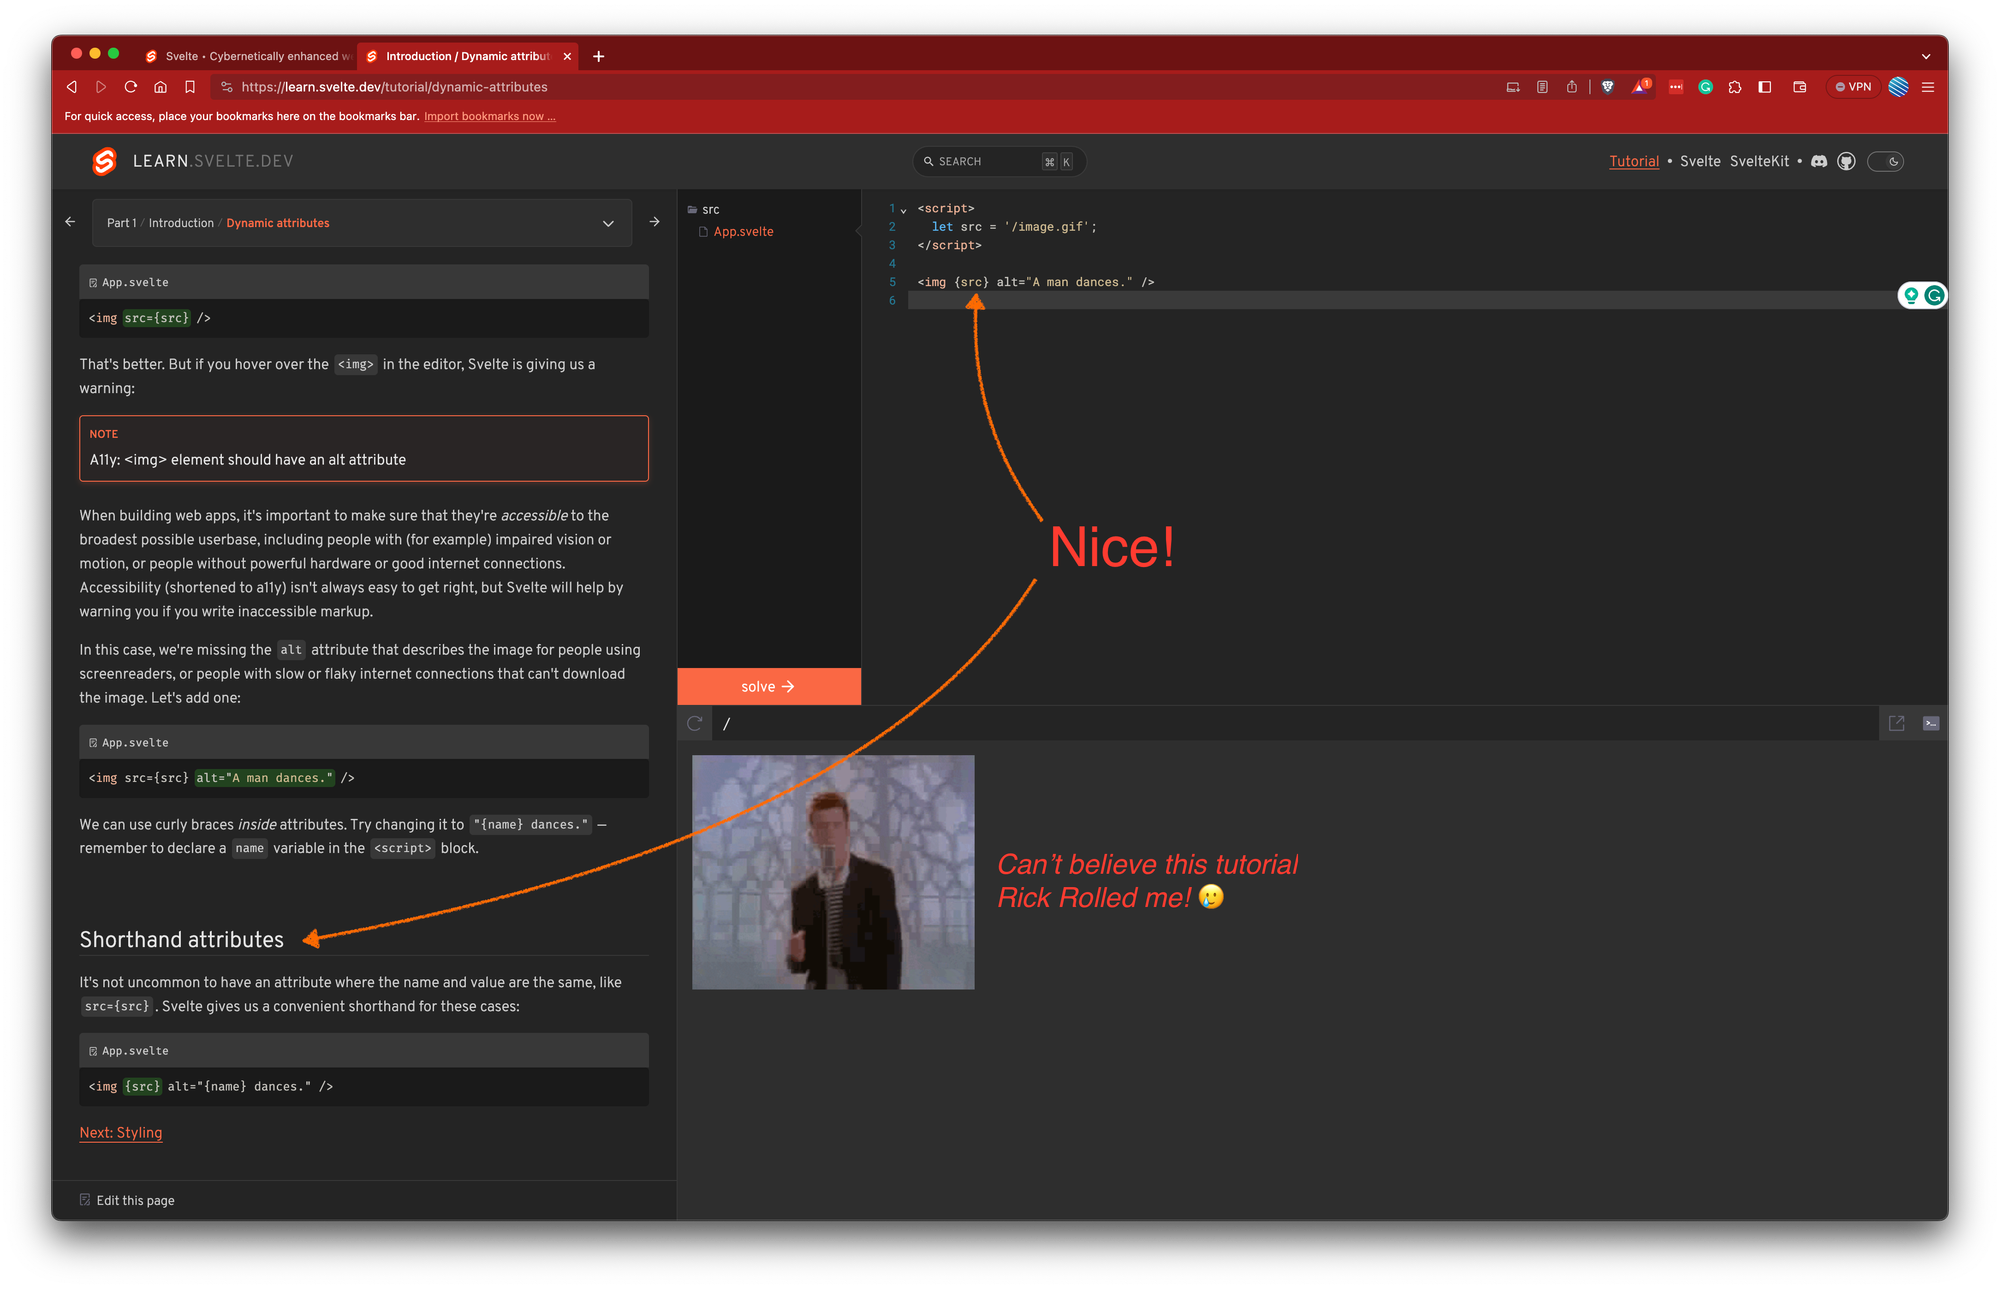
Starting with the basics, the tutorial guided me through building my first Svelte component. It's fascinating how Svelte simplifies component creation, blending the lines between JavaScript and markup in a way that feels intuitive yet powerful. The process of injecting variables into HTML attributes was straightforward, demonstrating Svelte's seamless integration of logic and presentation.
Styling in Svelte also proved to be an interesting aspect. The framework offers a straightforward way to style components, ensuring that styles are scoped to the component level. This means less worry about styles bleeding across components—a common concern in larger projects.
Importing components created in other files was another key lesson. Svelte's modular approach resonated with my experience in React, reinforcing the concept of reusable components, a cornerstone of efficient front-end development.
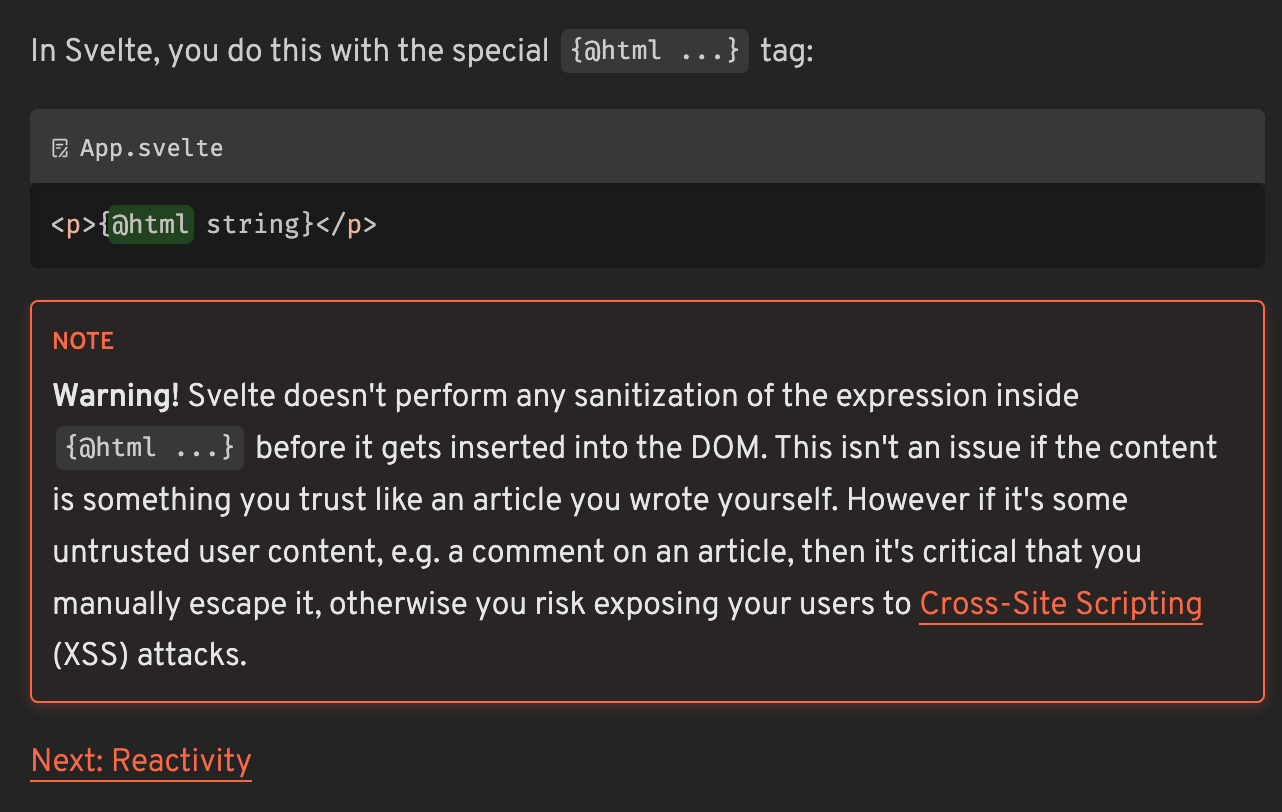
However, when it came to injecting HTML tags using the @html helper, the tutorial issued a word of caution 🚨. This feature, while powerful, carries the risk of cross-site scripting (XSS) attacks if not used judiciously. It was a reminder of the responsibility that comes with handling dynamic content.
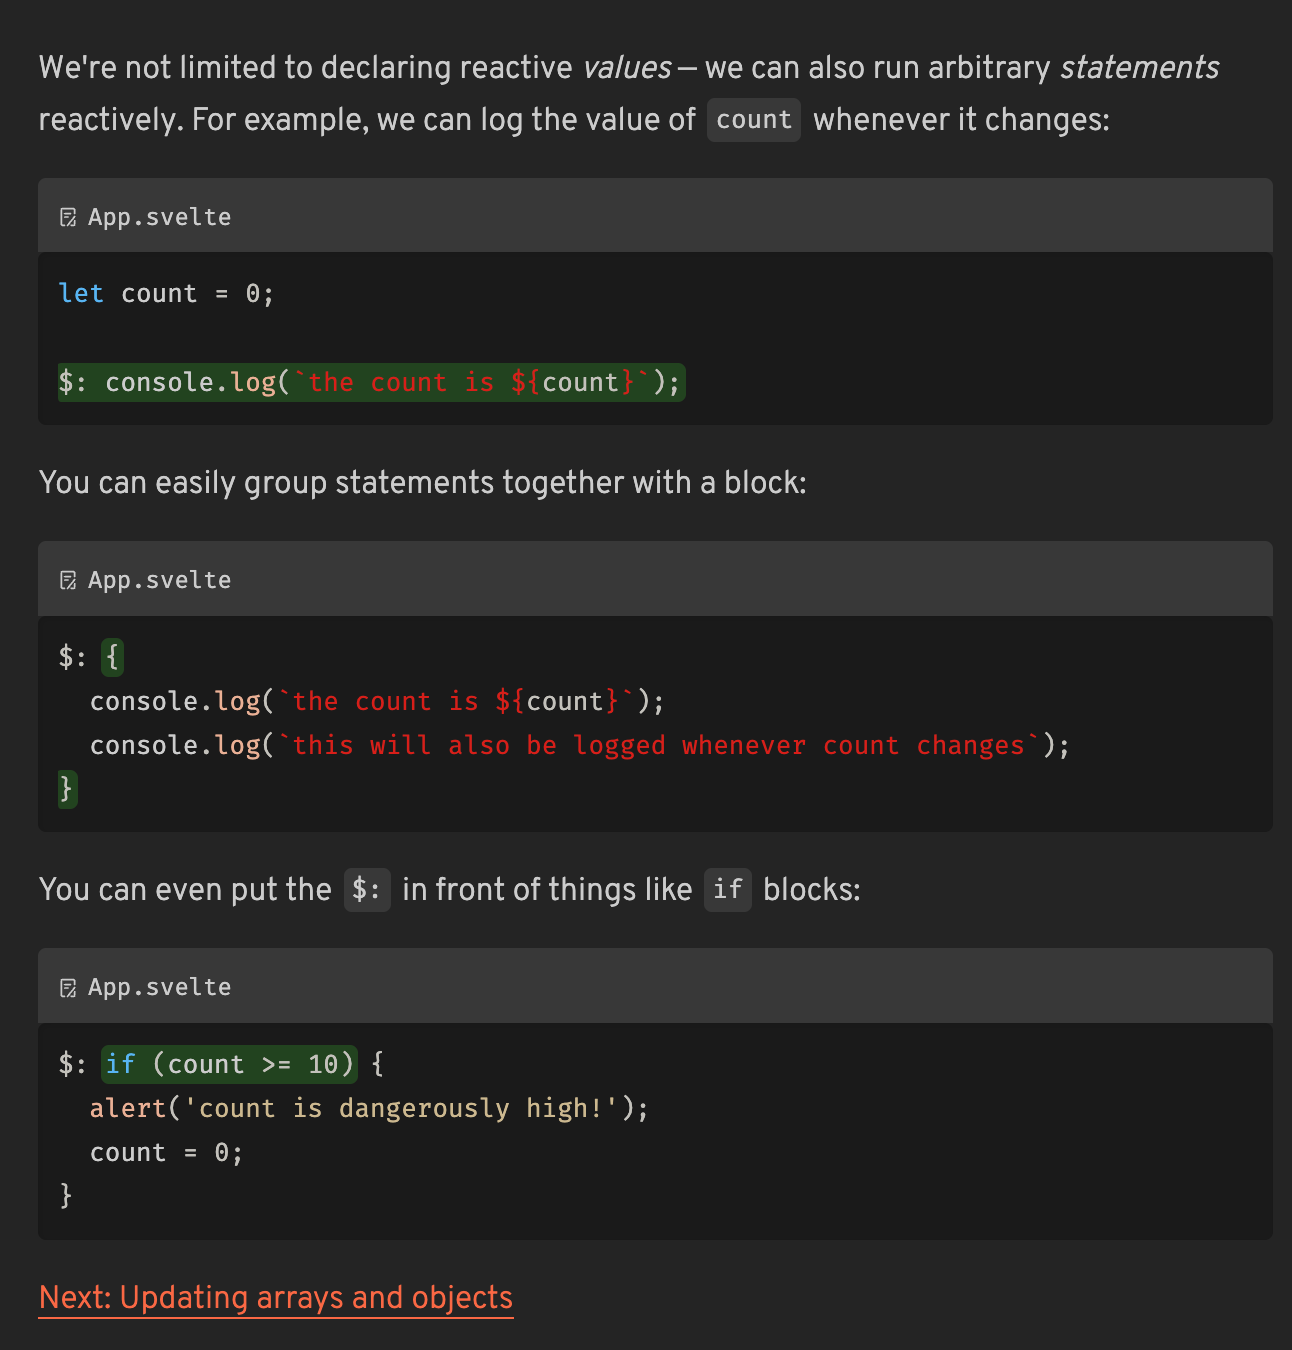
The tutorial then introduced me to the heart of Svelte—Reactivity. Assigning functions to event handlers on HTML elements was just the beginning. Svelte's approach to reactivity, especially with its reactive declarations and statements, was a revelation. These features allow for an automatic re-run of code whenever the bound data changes, presenting a more straightforward and less verbose way of handling data updates compared to what I was accustomed to in React, whereby we'd get similar behaviour using the useEffect hook with an array of dependencies.
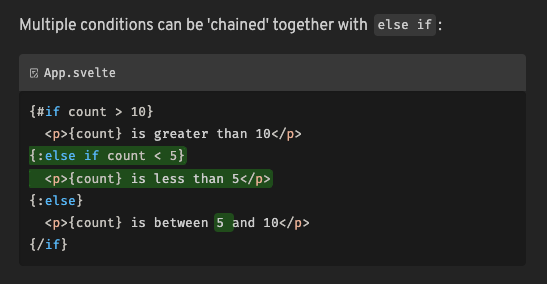
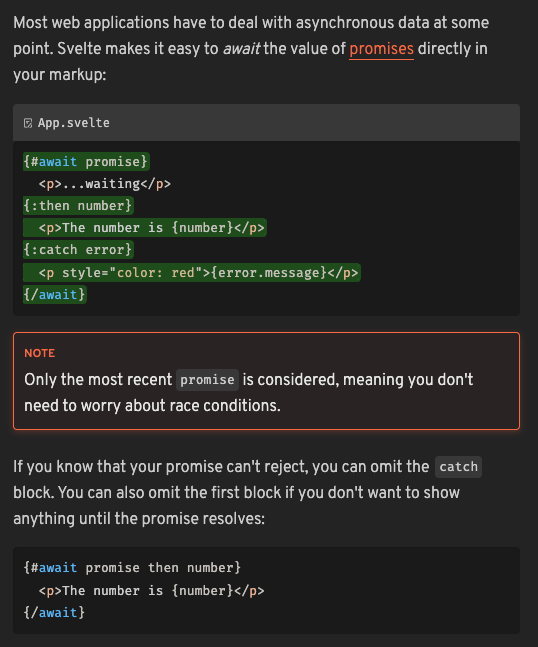
Svelte's syntax for conditional and each blocks had a familiar feel, reminiscent of Handlebars. This similarity provided a sense of comfort, yet Svelte introduced something new—await blocks. These blocks elegantly handle asynchronous operations, showcasing loading states in a more declarative way, a feature not commonly seen in other frameworks I've worked with.

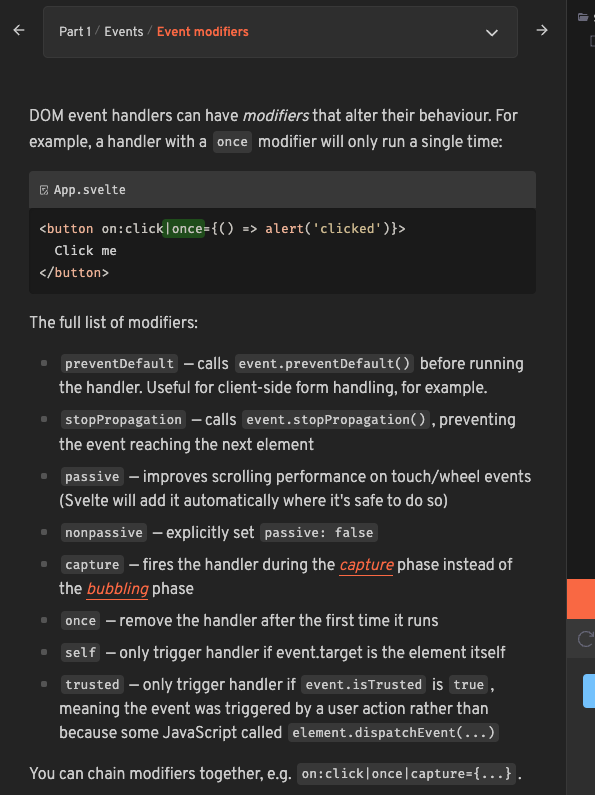
Lastly, the concept of Event Modifiers in Svelte was intriguing. Attaching modifiers like once to event handlers, as demonstrated in the tutorial, allows for modifying the behaviour of events in a concise manner. For instance, on:click|once could be used to ensure that a click event handler runs only once, automatically detaching itself after the first execution. It's these little nuances that make Svelte an exciting framework to explore.
I have decided to leave explaining more of the tutorial so as not to spoil anything for anyone else wanting to explore it themselves. For me, the tutorial had done its job—it had laid the foundation, piqued my curiosity, and prepared me to take on the challenge of building with Svelte.
Learning into Practice
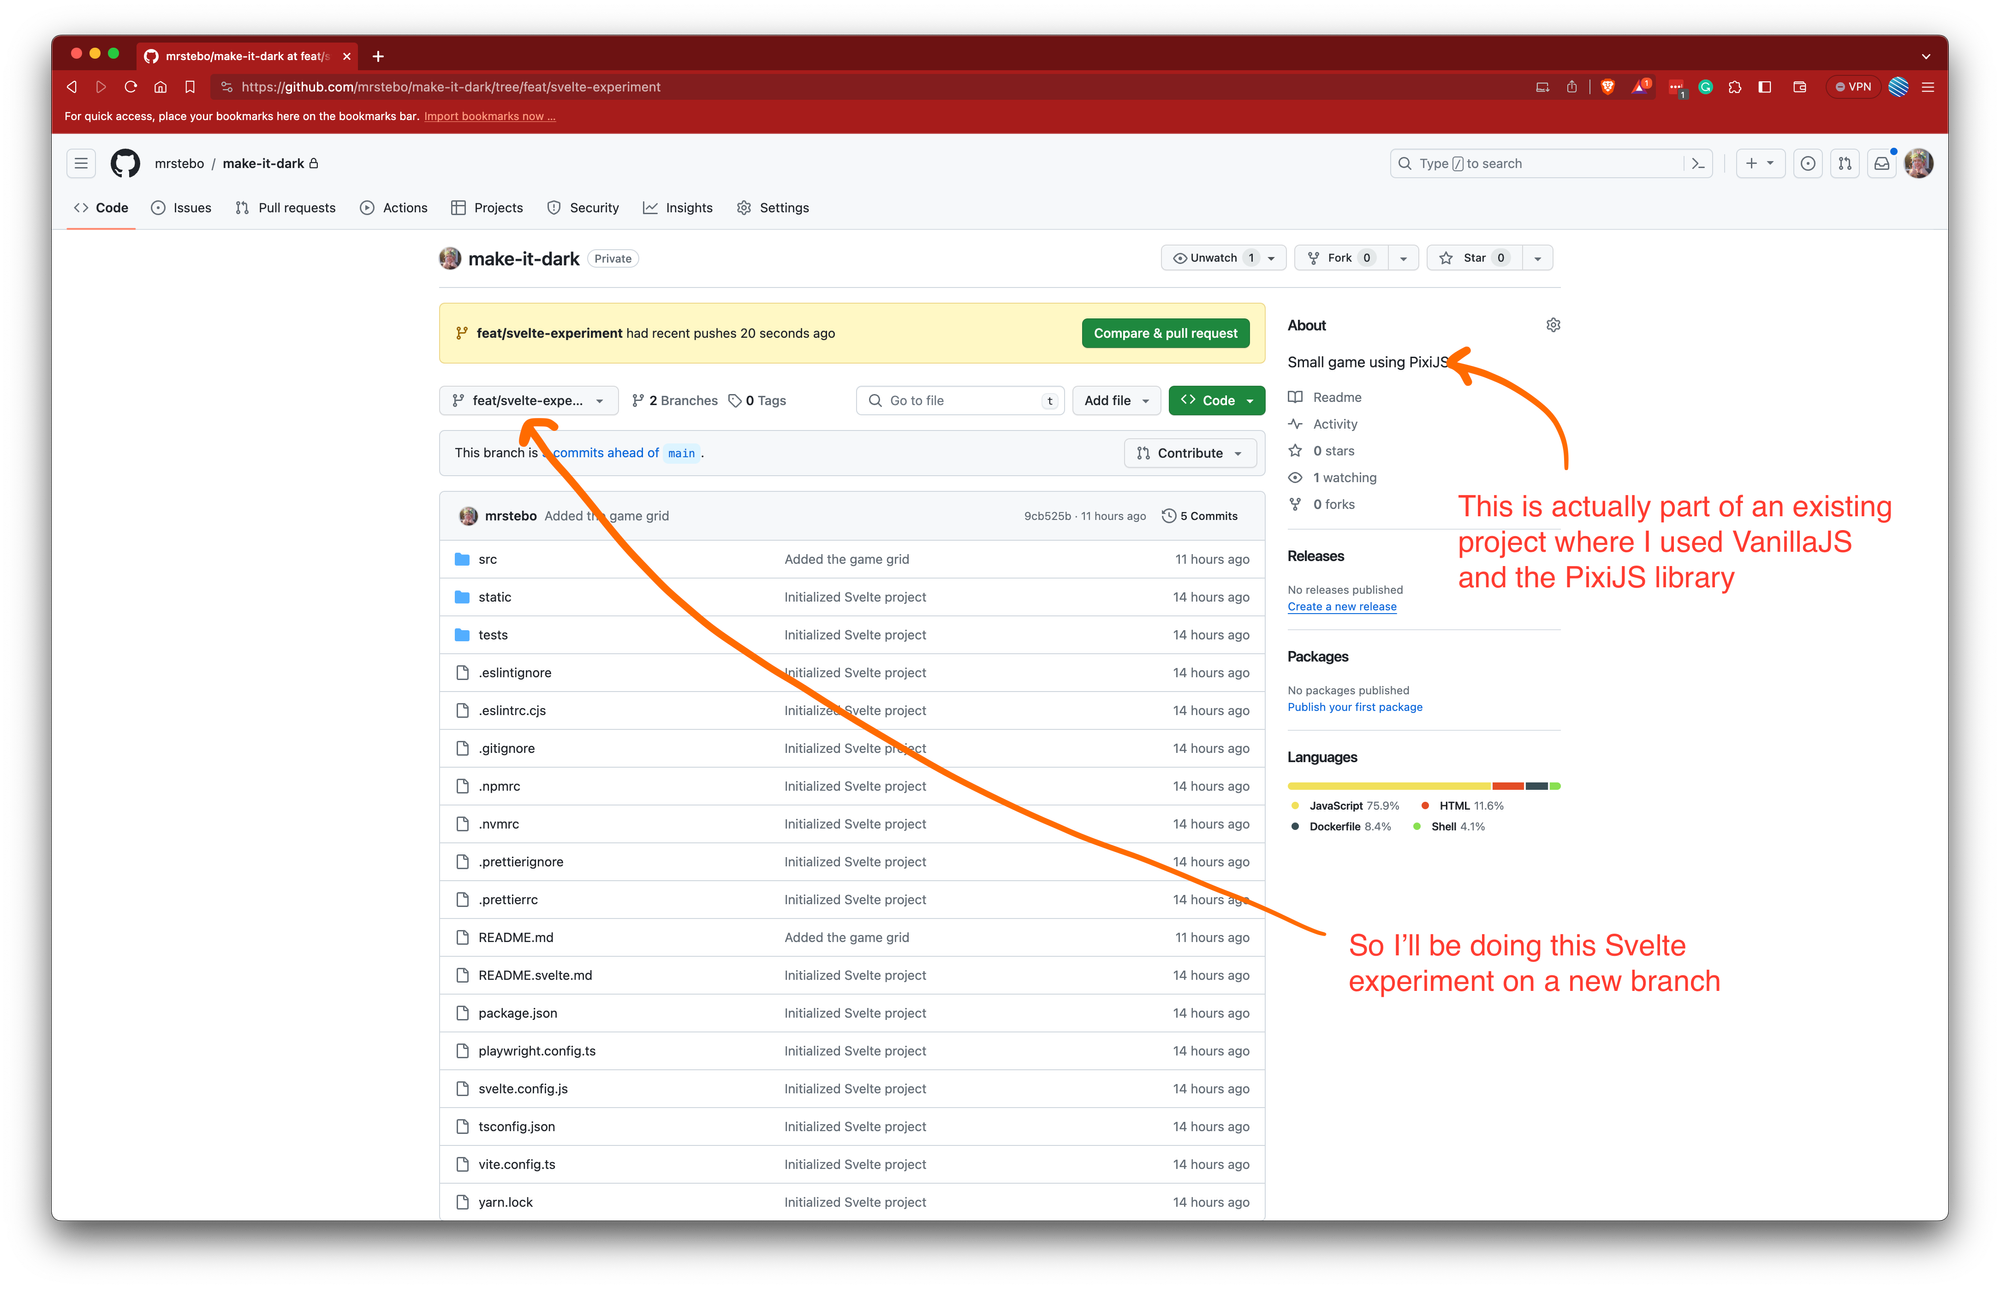
The journey of bringing Make It Dark to life began with the foundational step of repository creation. I turned to GitHub, my go-to platform for version control and collaboration. There is a certain sense of commitment that comes with initializing a new repository—it's like laying the first brick of what you hope will become a significant structure 💪. I always recommend this approach for any new project, as it not only helps organize and track progress, but also gradually builds a portfolio that showcases one's exploration and expertise in different technologies.
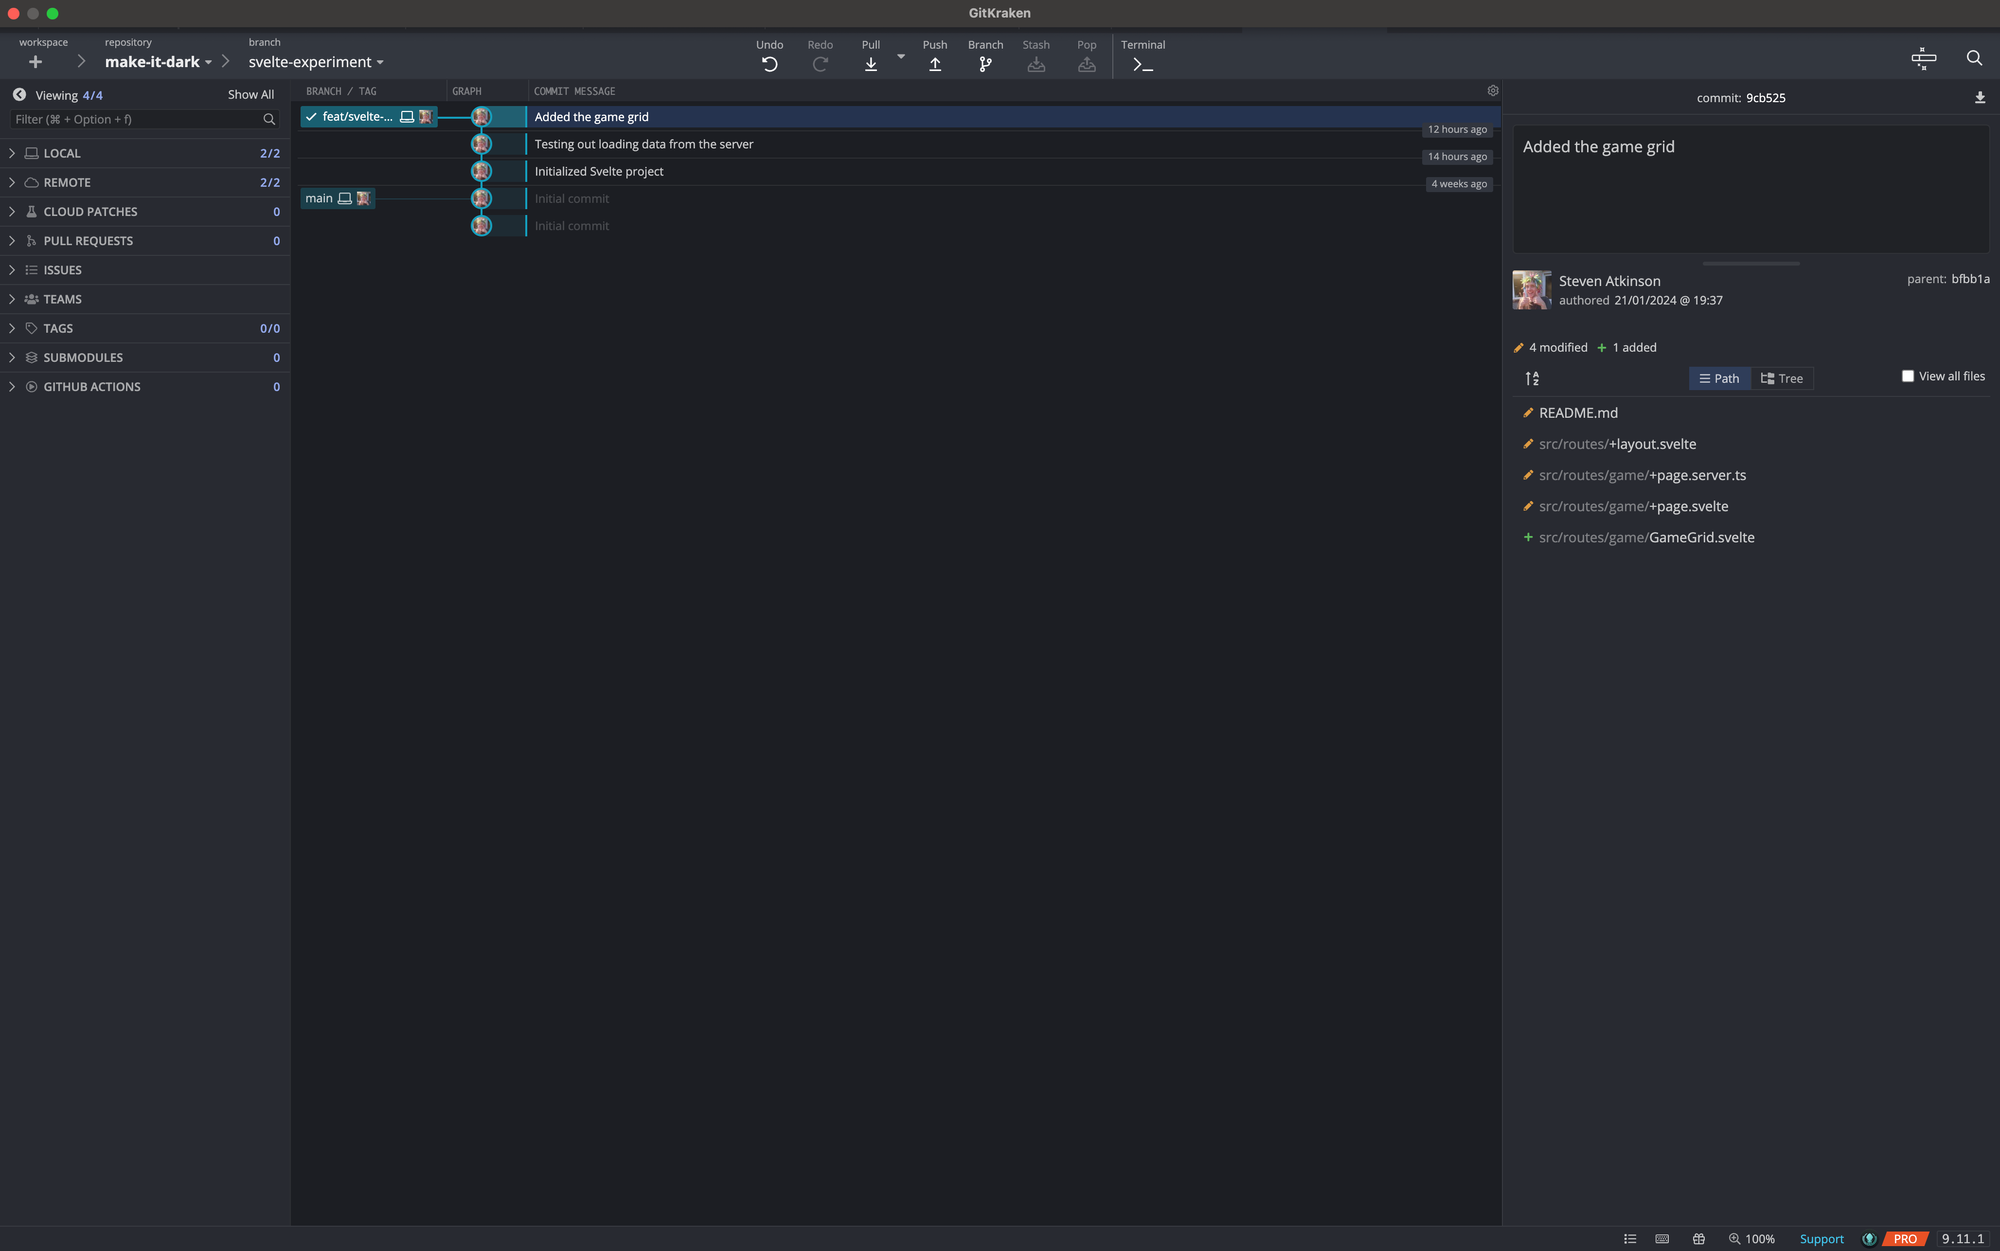
Once the repository was up and running, the next step was to clone it to my local machine. For this, I usually prefer GitKraken, a Git GUI that simplifies the process, making it more visual and intuitive. However, on occasions when I'm working from my Windows partition, GitHub Codespaces serves as an efficient alternative, offering a cloud-based development environment.
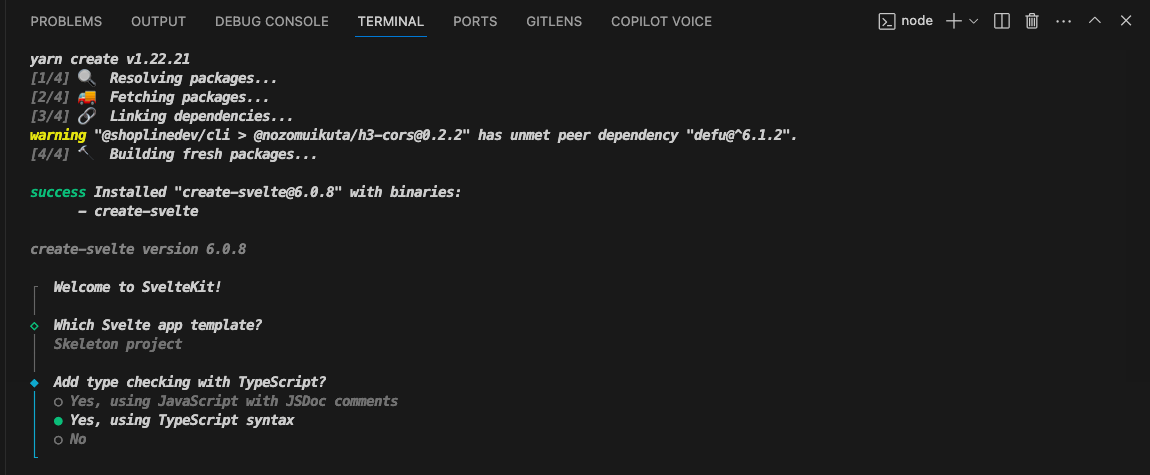
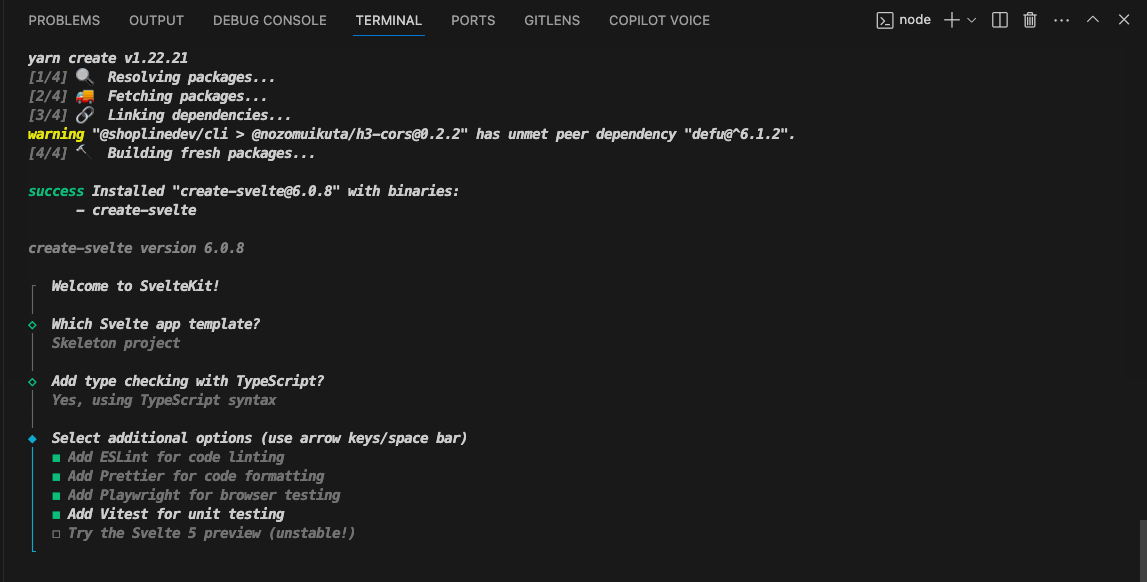
With the repository cloned, I opened the project in Visual Studio Code (VSCode), my editor of choice, for its robust features and seamless integration with various development tools. The next step was to initialize the Svelte project. From the integrated terminal in VSCode, I ran the command yarn create svelte make-it-dark. This command set the gears in motion, leading me through a series of options and configurations for the project. Notably, I chose to use TypeScript for this project, aligning with my preference for strong typing and its benefits in maintaining code quality.

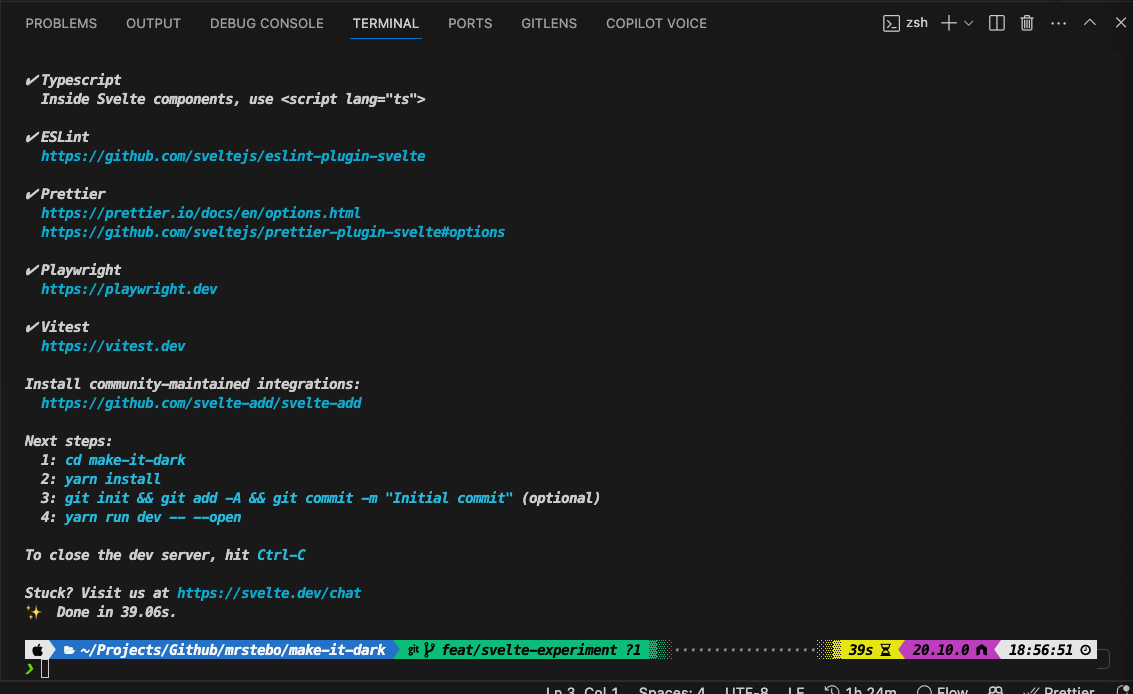
After the project was created, a bit of file reorganization was needed. I moved all the files from the newly created folder to the root of my repository. This step, while seemingly mundane, is crucial for maintaining a clean and navigable project structure.
With everything in place, I made my initial commit—a symbolic action marking the official start of the project 🥳.
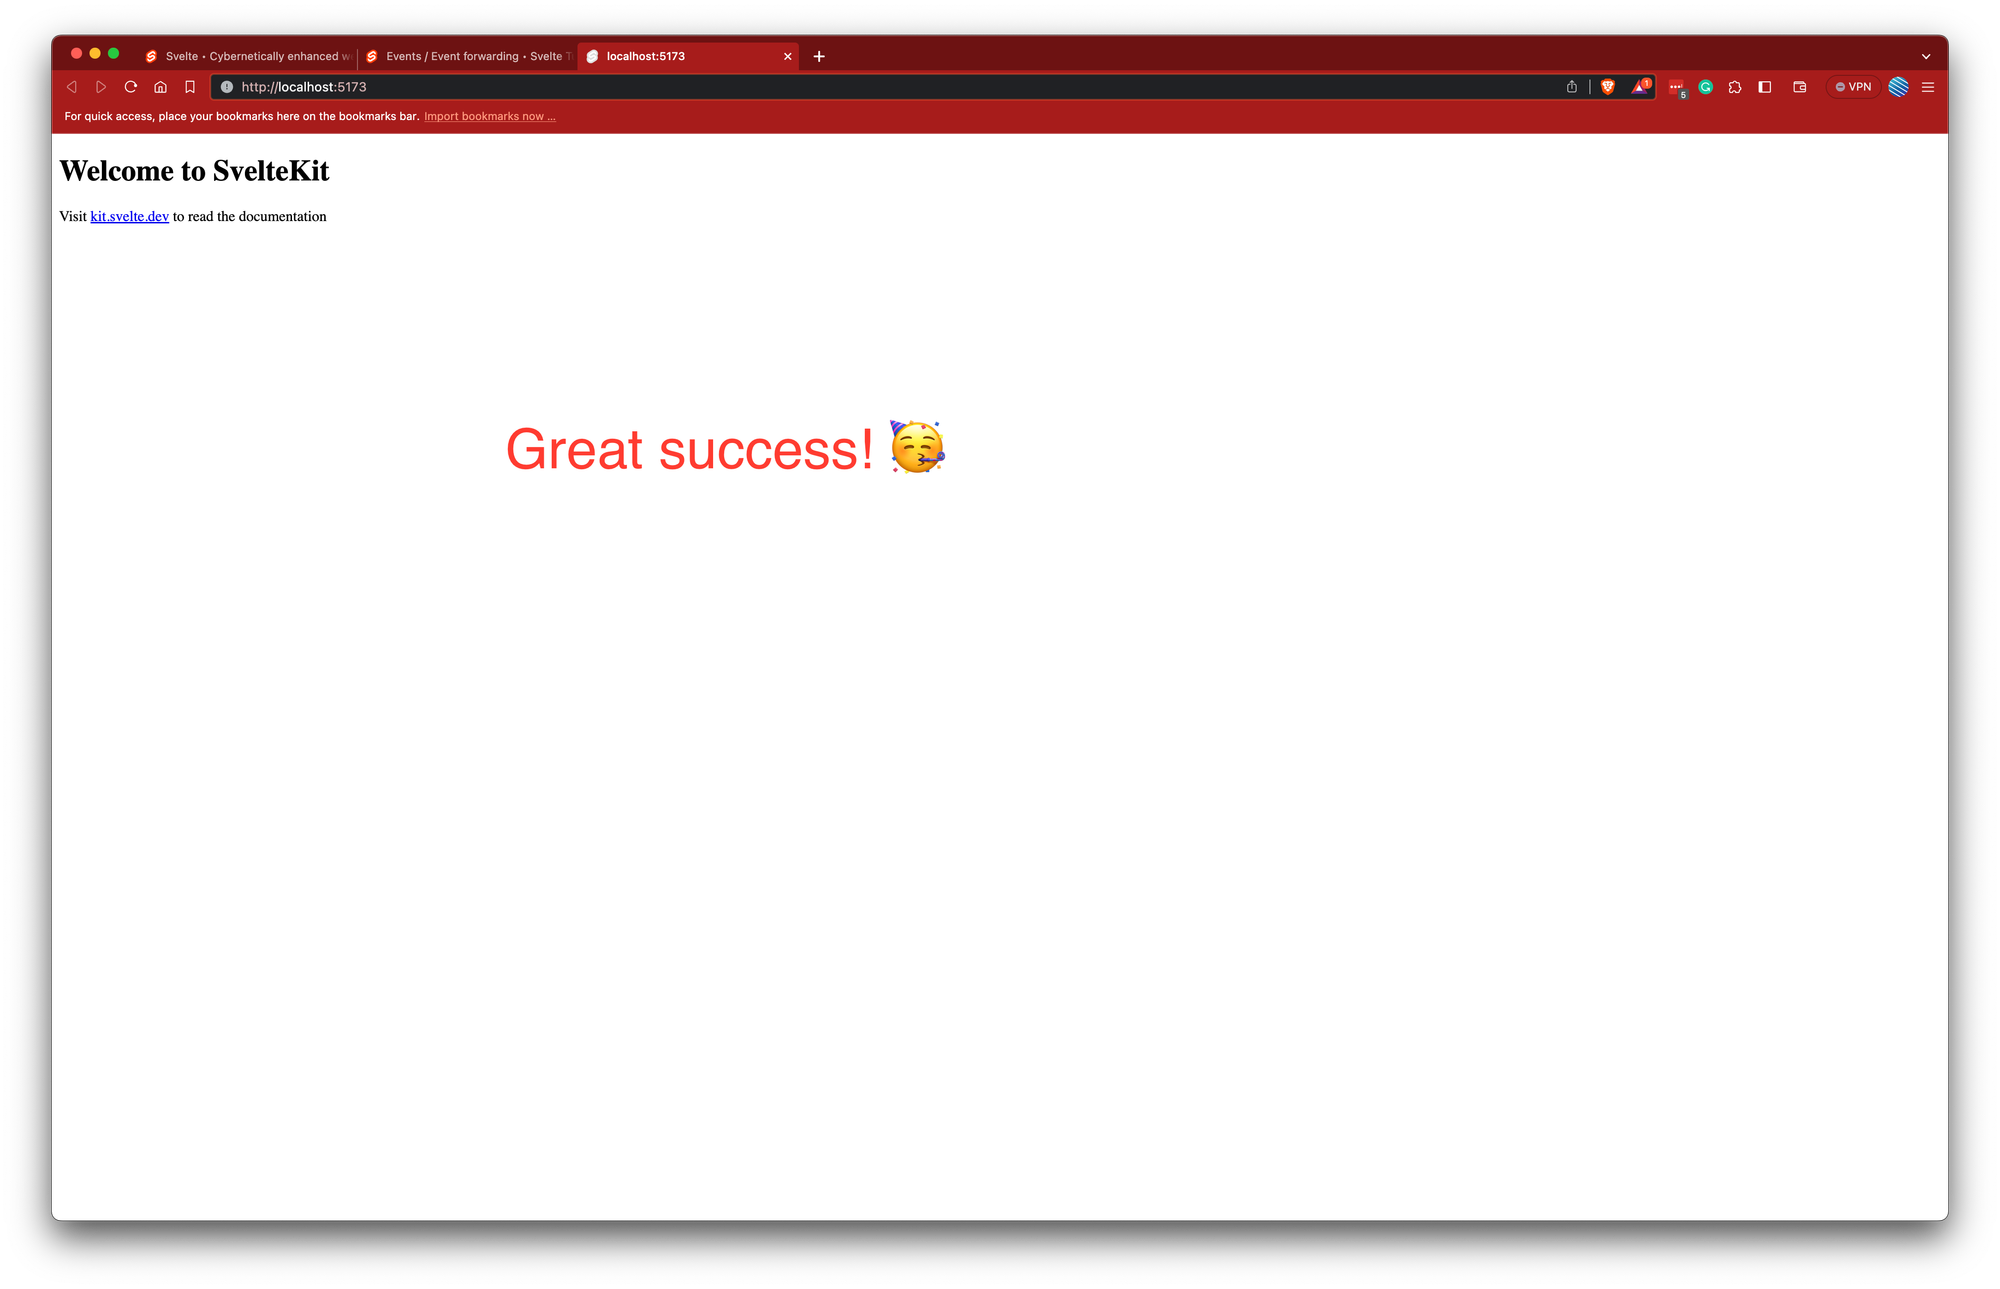
Finally, it was time to breathe life into Make It Dark. I executed the yarn run dev --open command - ignoring the suggestion from the "next steps" section above, as double dashes are no longer required with yarn for passing command line arguments, which launched the development server and opened the project in a web browser. Seeing the project come to life for the first time is always filled with anticipation and excitement. It's where ideas begin to take shape in the digital realm, marking the start of a new adventure in coding and creativity 😊.
Wrapping up Part 1
The initial exploration into Svelte for the Make It Dark project is now set up and ready. The journey so far has introduced me to the basics of Svelte, its unique approach to web development, and the practical steps involved in setting up a new project. The experience has been a mix of learning and applying new concepts while leveraging my existing skills.
As I wrap up this part of the process, the focus shifts to the next phase: actually building the game 😉. This will involve applying the Svelte concepts learned to create Make It Dark, focusing on game logic, interface design, and ensuring a smooth user experience. The next part of this series will delve into these aspects, detailing the challenges and solutions encountered in developing the game.
In summary, the setup phase has been completed successfully, and the foundation for the game development is now in place. The next step is to start coding the game, turning the concept into a playable reality. Stay tuned for the detailed journey of building Make It Dark with Svelte.
Resources
 Nadia Makarevich